8 Container Gardening Mistakes and How to Fix Them
8 Container Gardening Mistakes and How to Fix Them
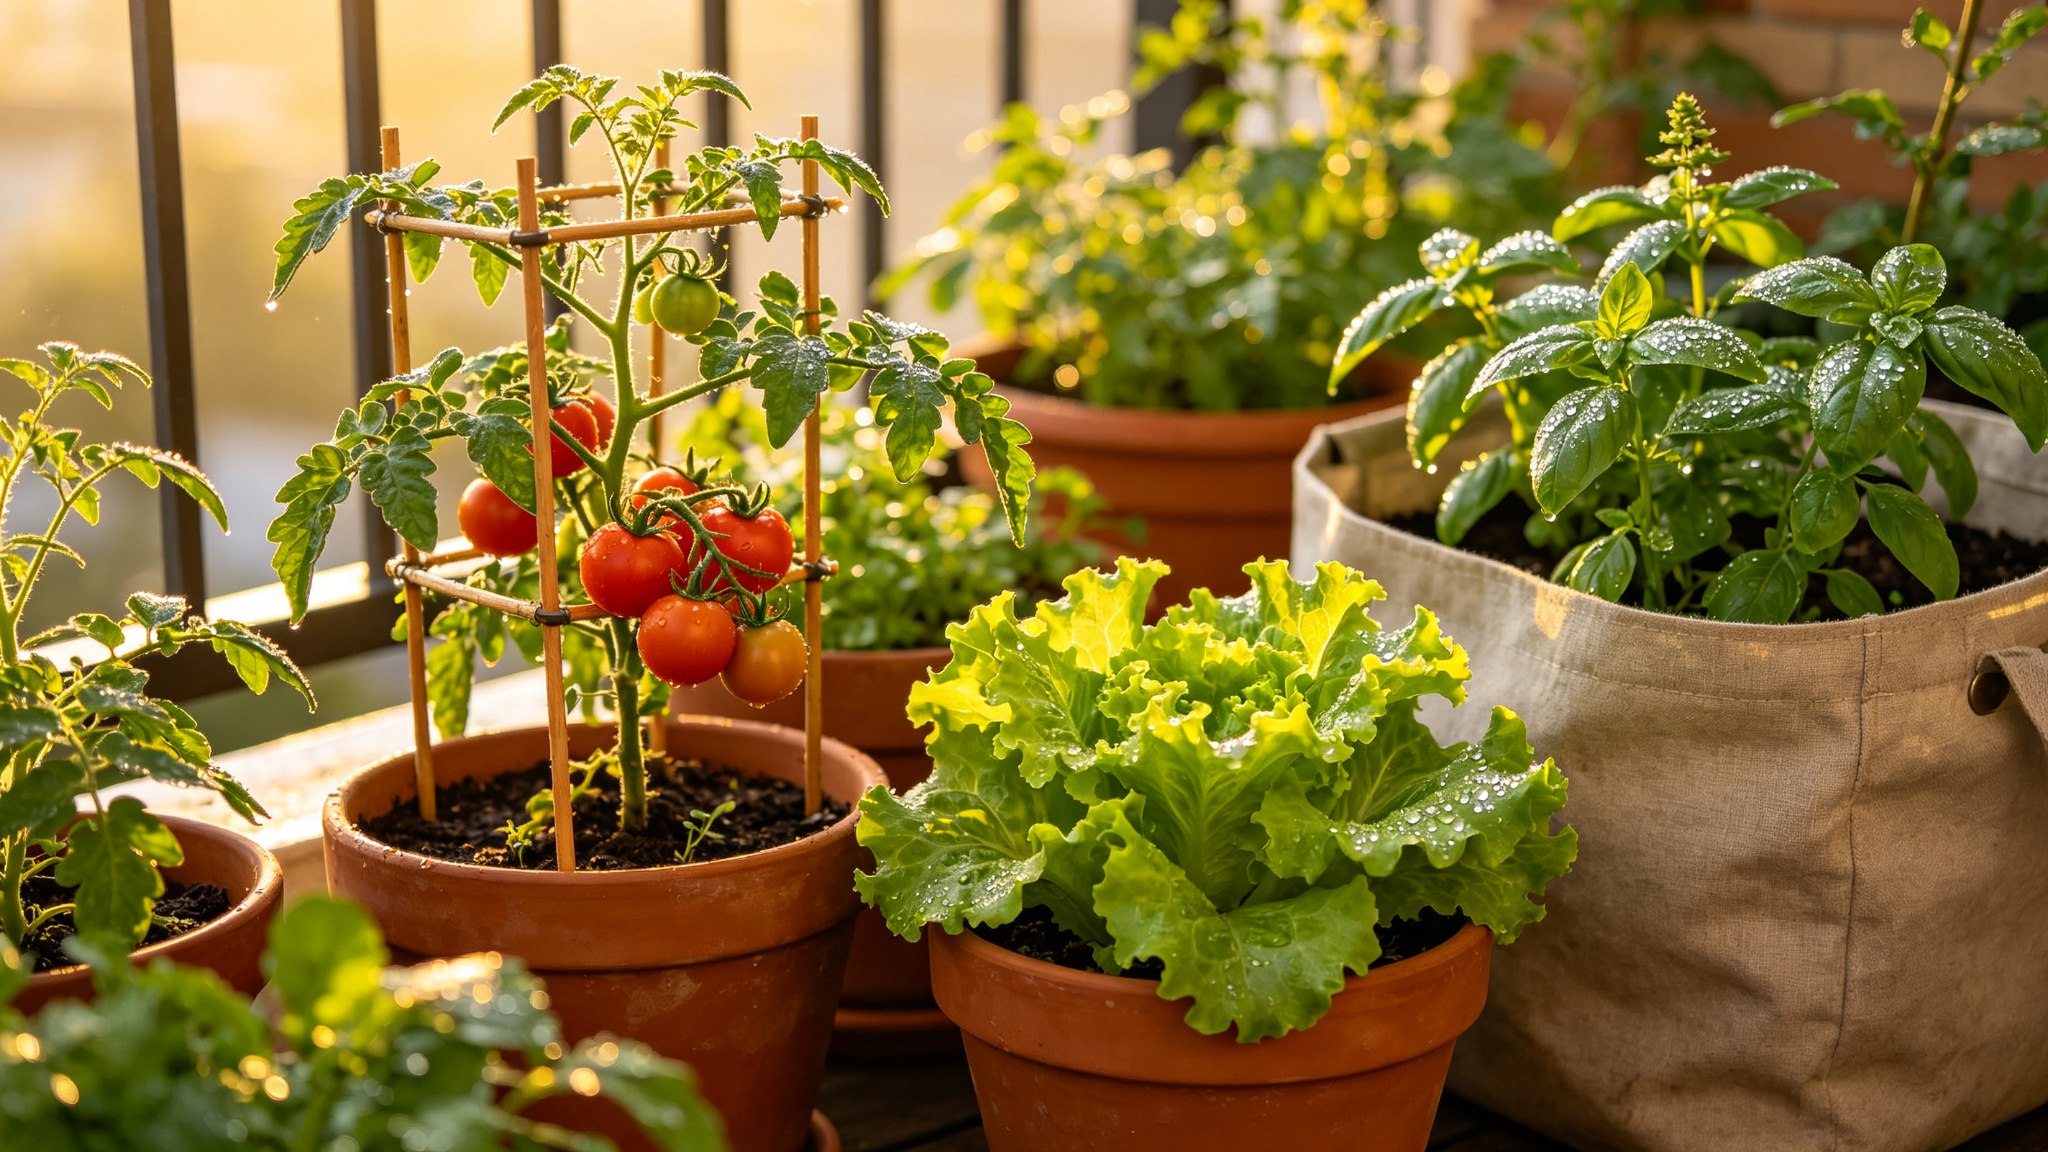
My first container garden was a small-scale disaster, and honestly? It was my own fault.
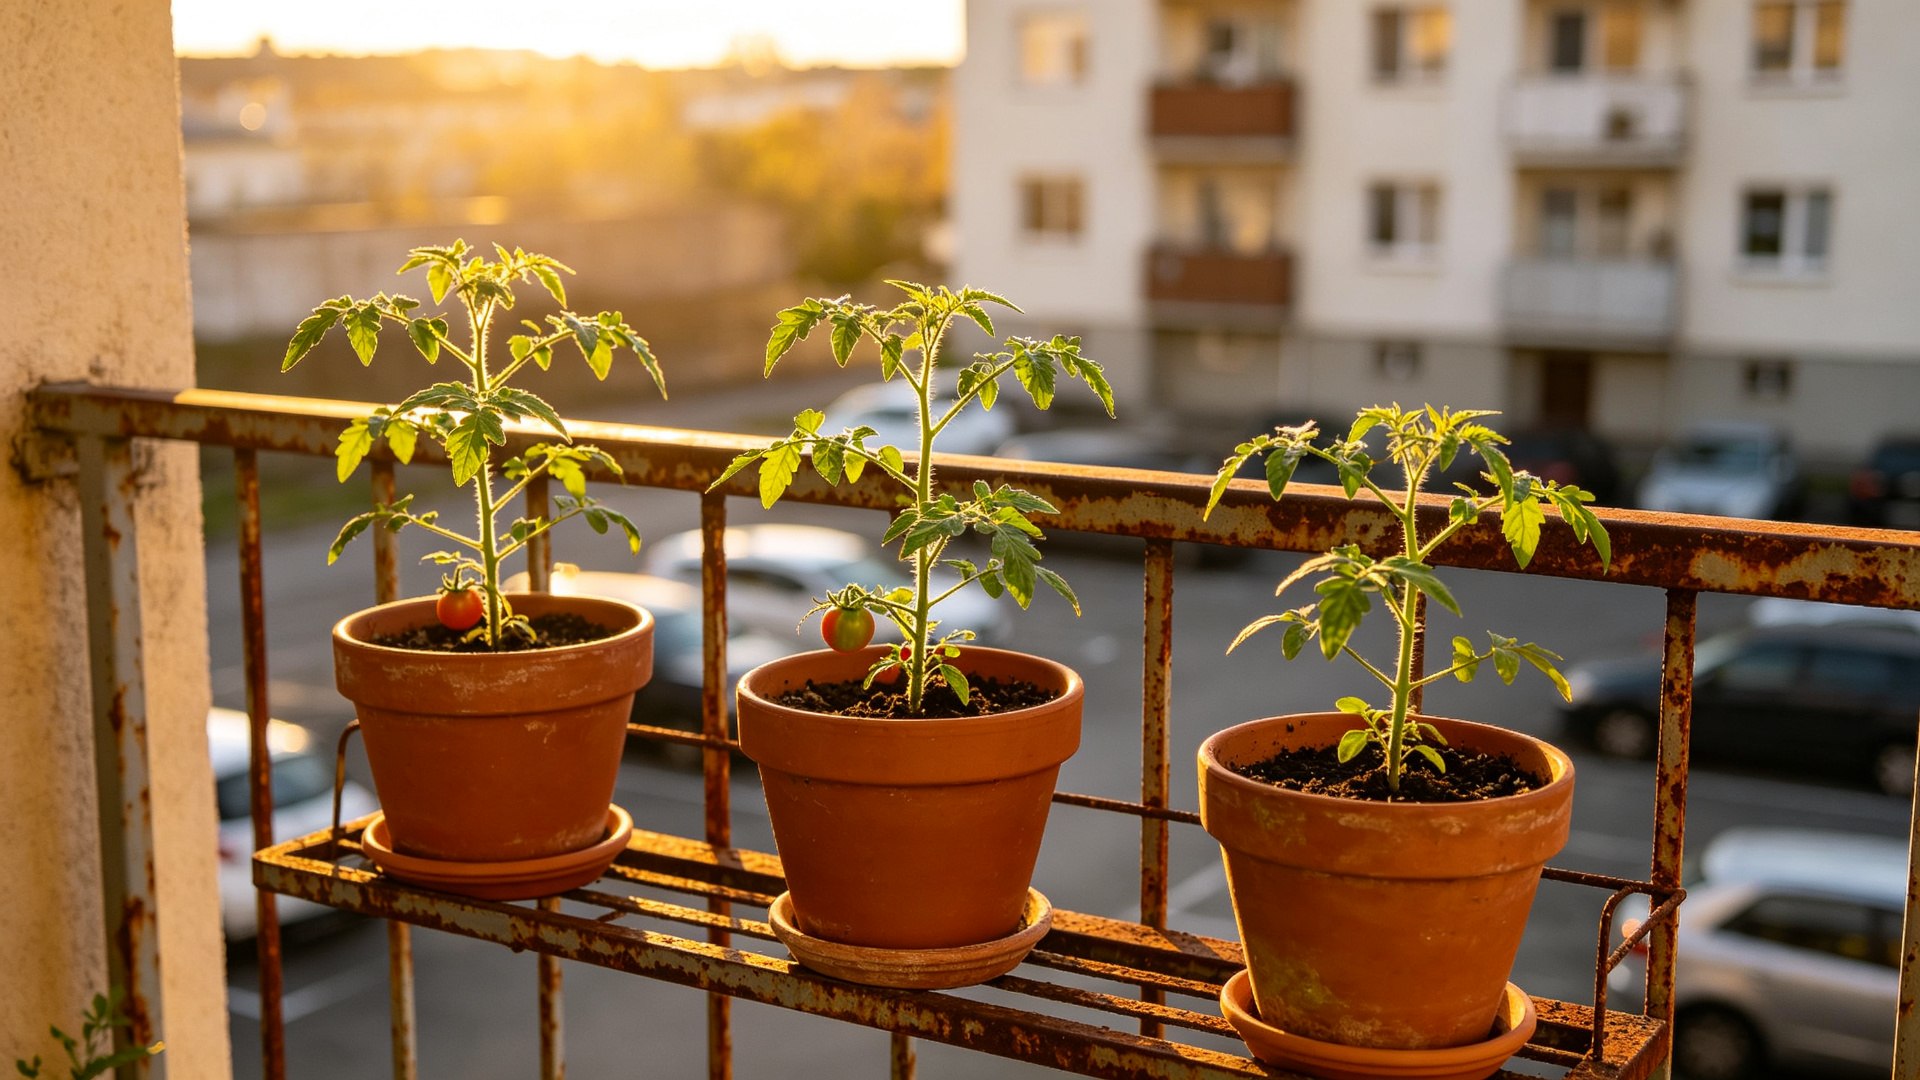
That first spring, I hauled home three tomato plants, two bags of garden soil, and a pretty ceramic pot with zero drainage holes because it matched my patio. By the fourth of July, all three tomatoes were rotting from the roots up, and the pot weighed about nine pounds of pure swamp. I watered every single day because I thought more water meant more growth. It doesn’t. (The full saga, cactus and all, is the balcony gardening story.)
The good news: everything I killed taught me something, and none of it was complicated. Almost every container gardening mistake beginners make comes down to the same handful of basics — drainage, watering, soil, light, and pot size. Get those five right, and you can grow a shocking amount of food on a balcony, a patio, or a sunny corner of a driveway.
Here are the eight mistakes that kill more potted plants than anything else, and exactly how to fix each one.
Mistake #1: Using Pots Without Drainage Holes
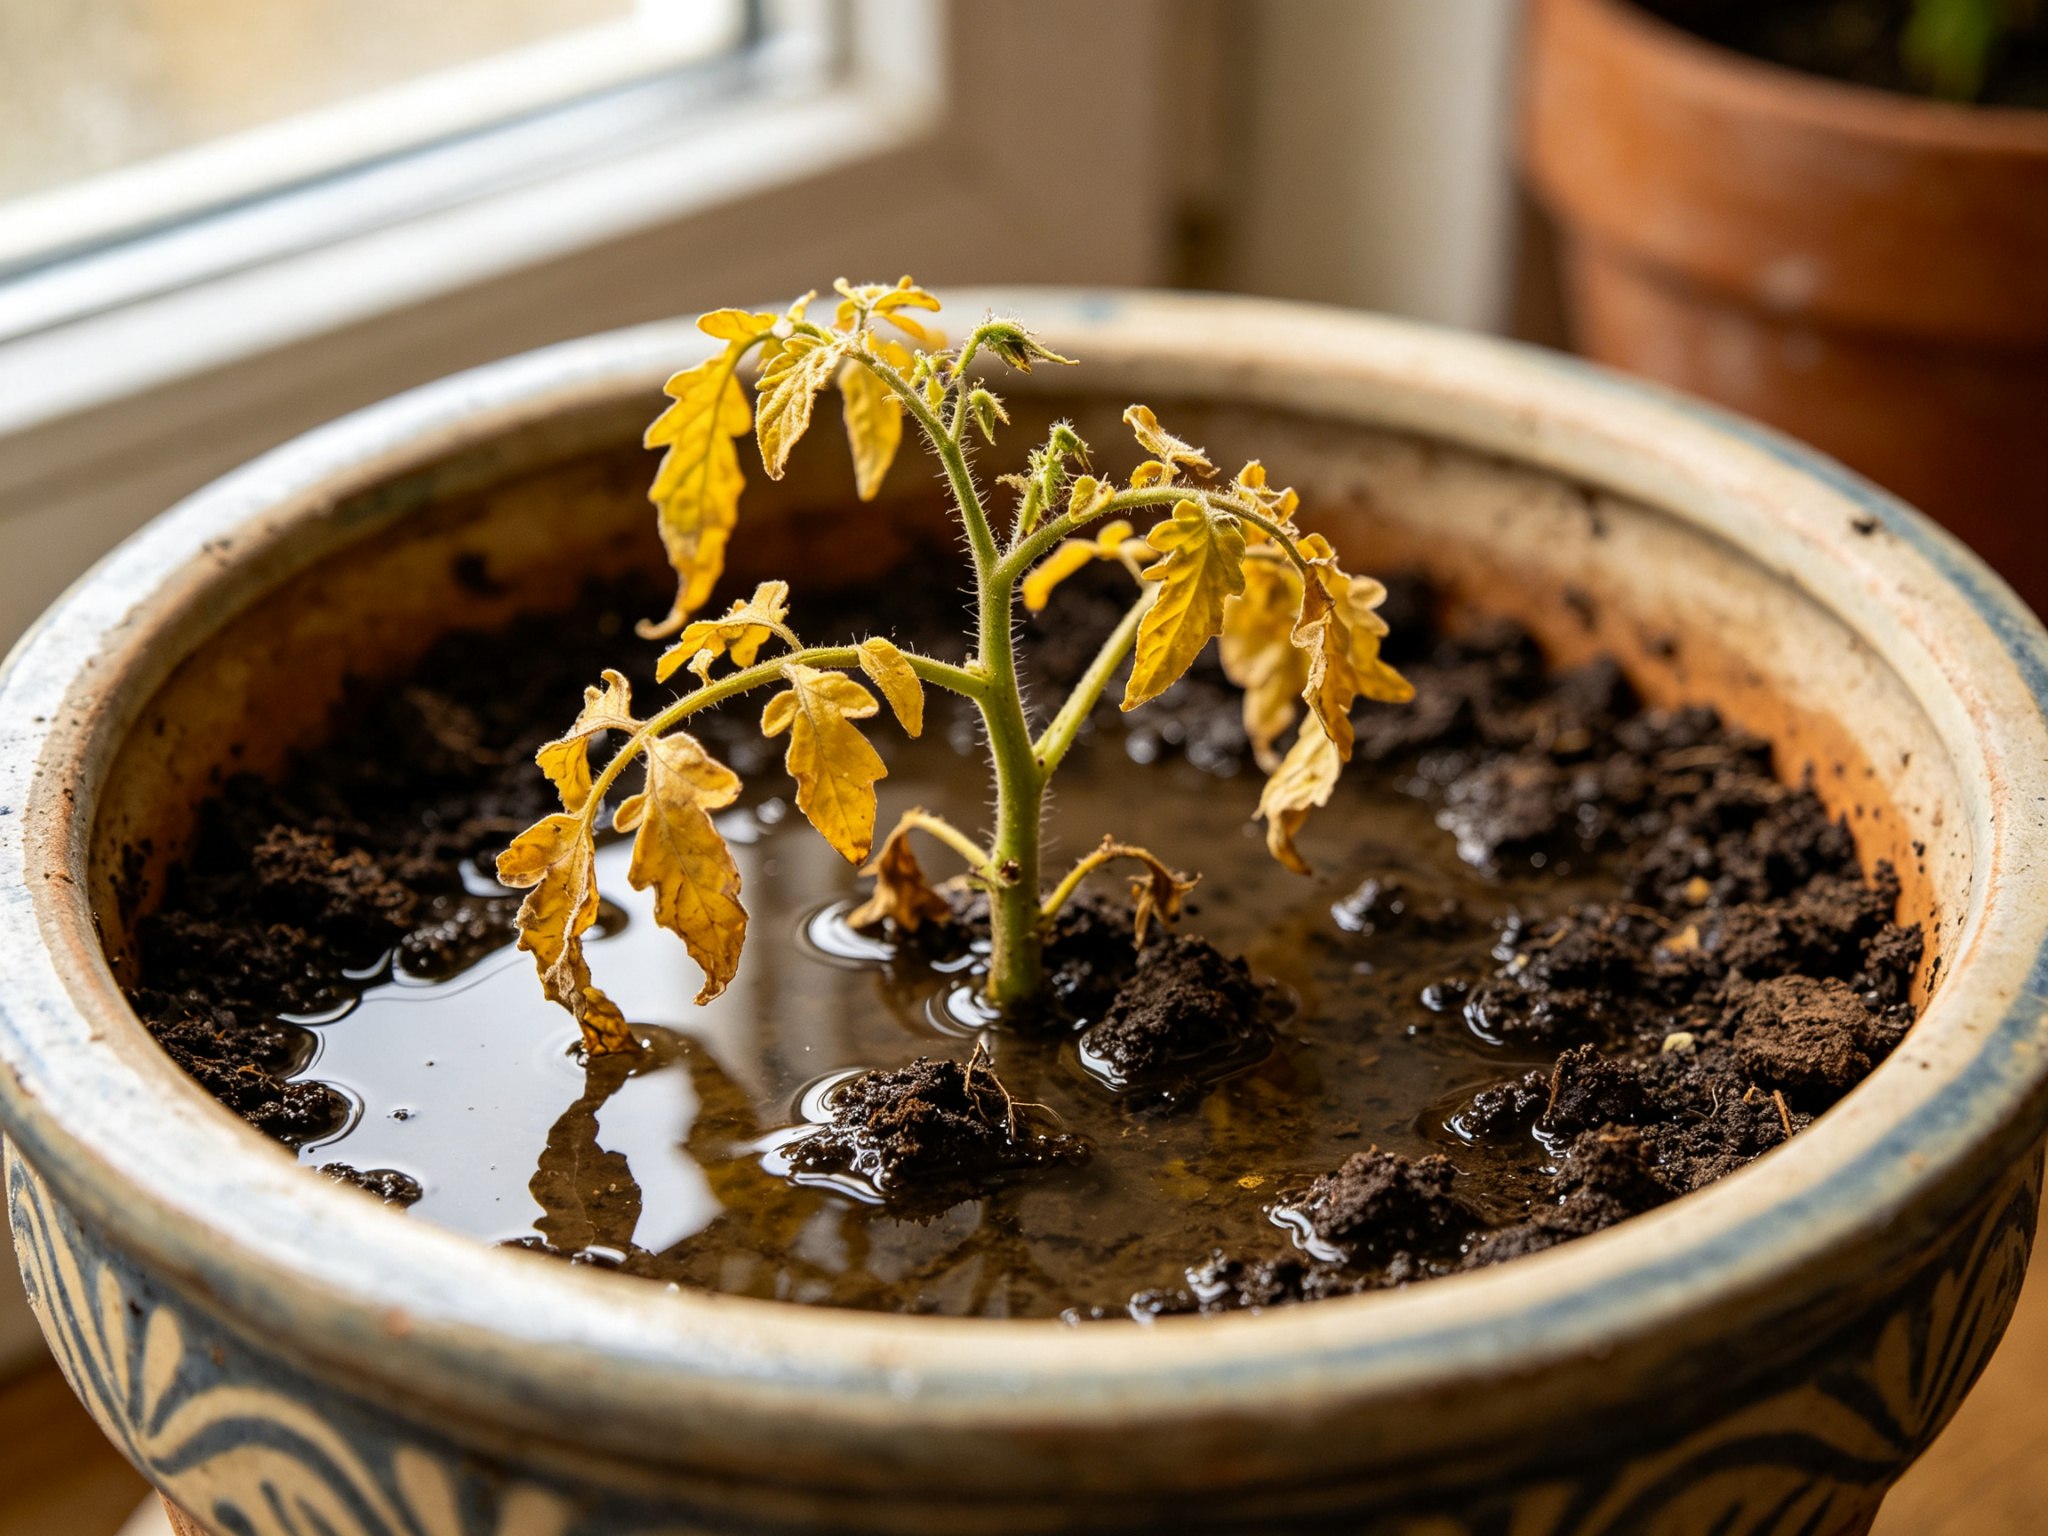
This is the #1 killer, and it’s the easiest one to fix. If your pot doesn’t have holes in the bottom, the water has nowhere to go. The roots sit in soggy soil, oxygen gets pushed out, and within a couple of weeks you’ve got root rot — which smells exactly as bad as it sounds and is almost always fatal.
I know the pretty pots are tempting. I bought one. Don’t be me.
The fix: Every single container needs at least one drainage hole, ideally 1/4 to 1/2 inch wide. If you fell in love with a pot that doesn’t have one, drill it — a diamond bit for ceramic, a regular drill bit for plastic. And here’s the part people skip: put something over the hole so soil doesn’t wash out, like a piece of screen mesh or a coffee filter, then add your soil. Skip the gravel-in-the-bottom trick. It doesn’t help drainage, it just shrinks your soil volume.
Mistake #2: Overwatering (The #1 Plant Killer)
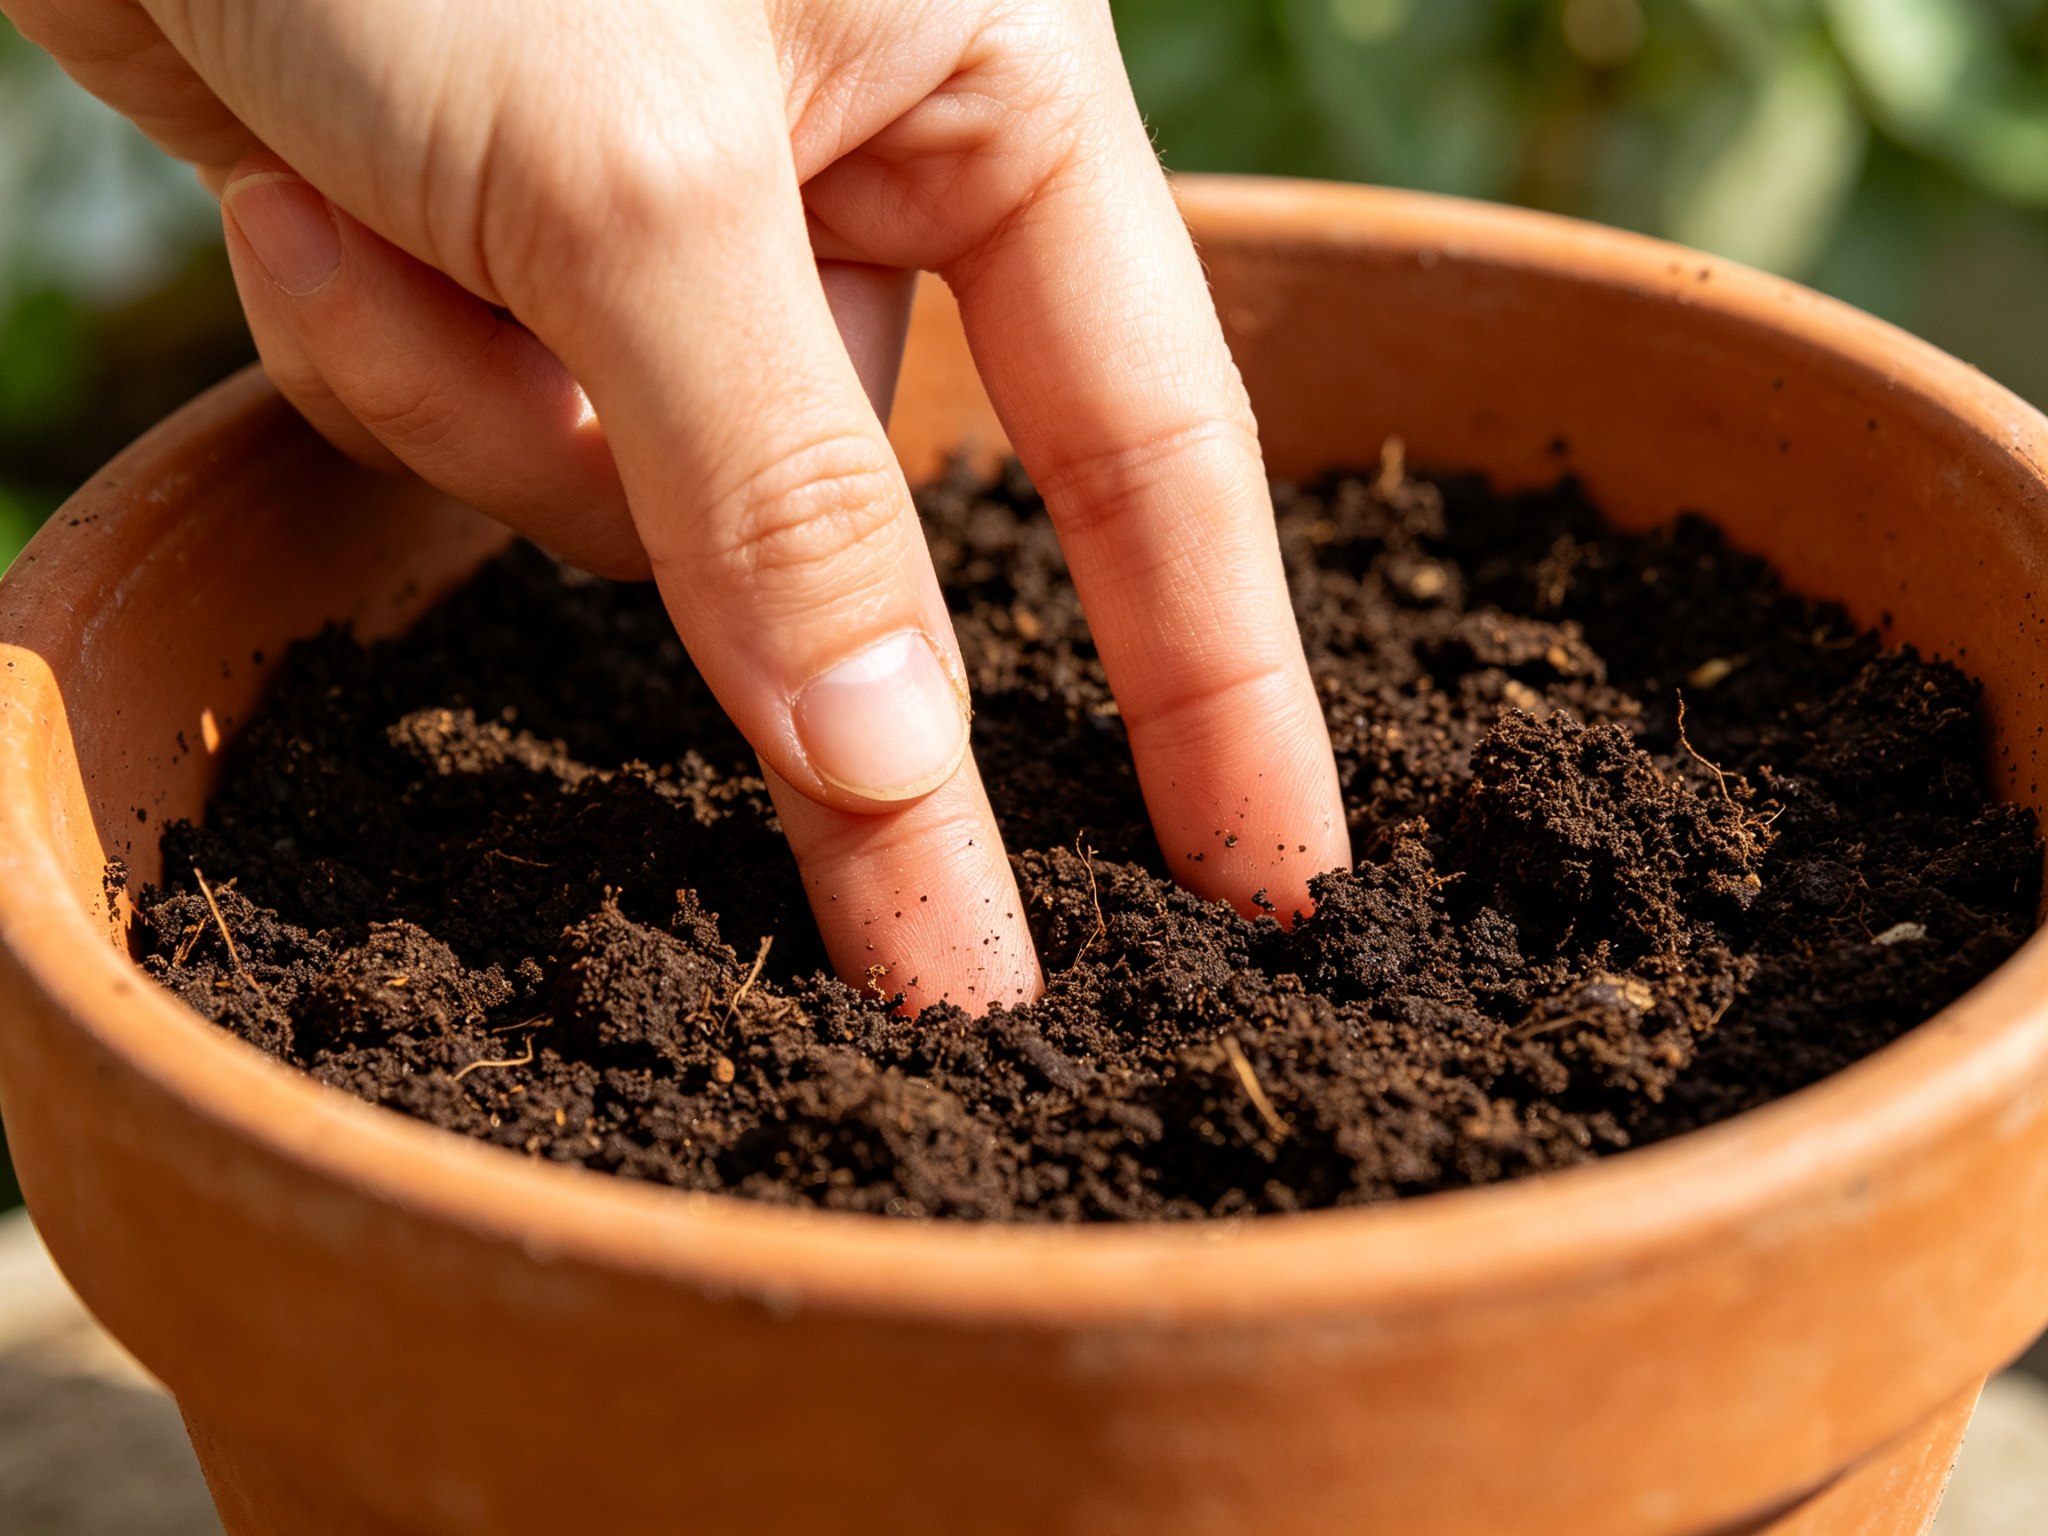
Beginners kill plants with love. We water every day because the top of the soil looks dry, and then we’re confused when the leaves turn yellow and the plant wilts anyway. Here’s the thing: if the plant is wilting and the soil is wet, you’re drowning it, not helping it.
The finger test is the only watering tool you need. Stick your finger two inches into the soil. If it’s dry at that depth, water. If it’s even slightly damp, wait a day and check again. That’s it. No calendar, no “water every Monday” schedule — plants don’t care what day it is.
The fix: Water deeply but less often. When you do water, add enough that it runs out the drainage holes — that tells you the whole root ball got a drink — then leave it alone until the soil dries out. A moisture meter costs about ten bucks if you want a backup, but your finger works fine.
Mistake #3: Using Garden Soil Instead of Potting Mix
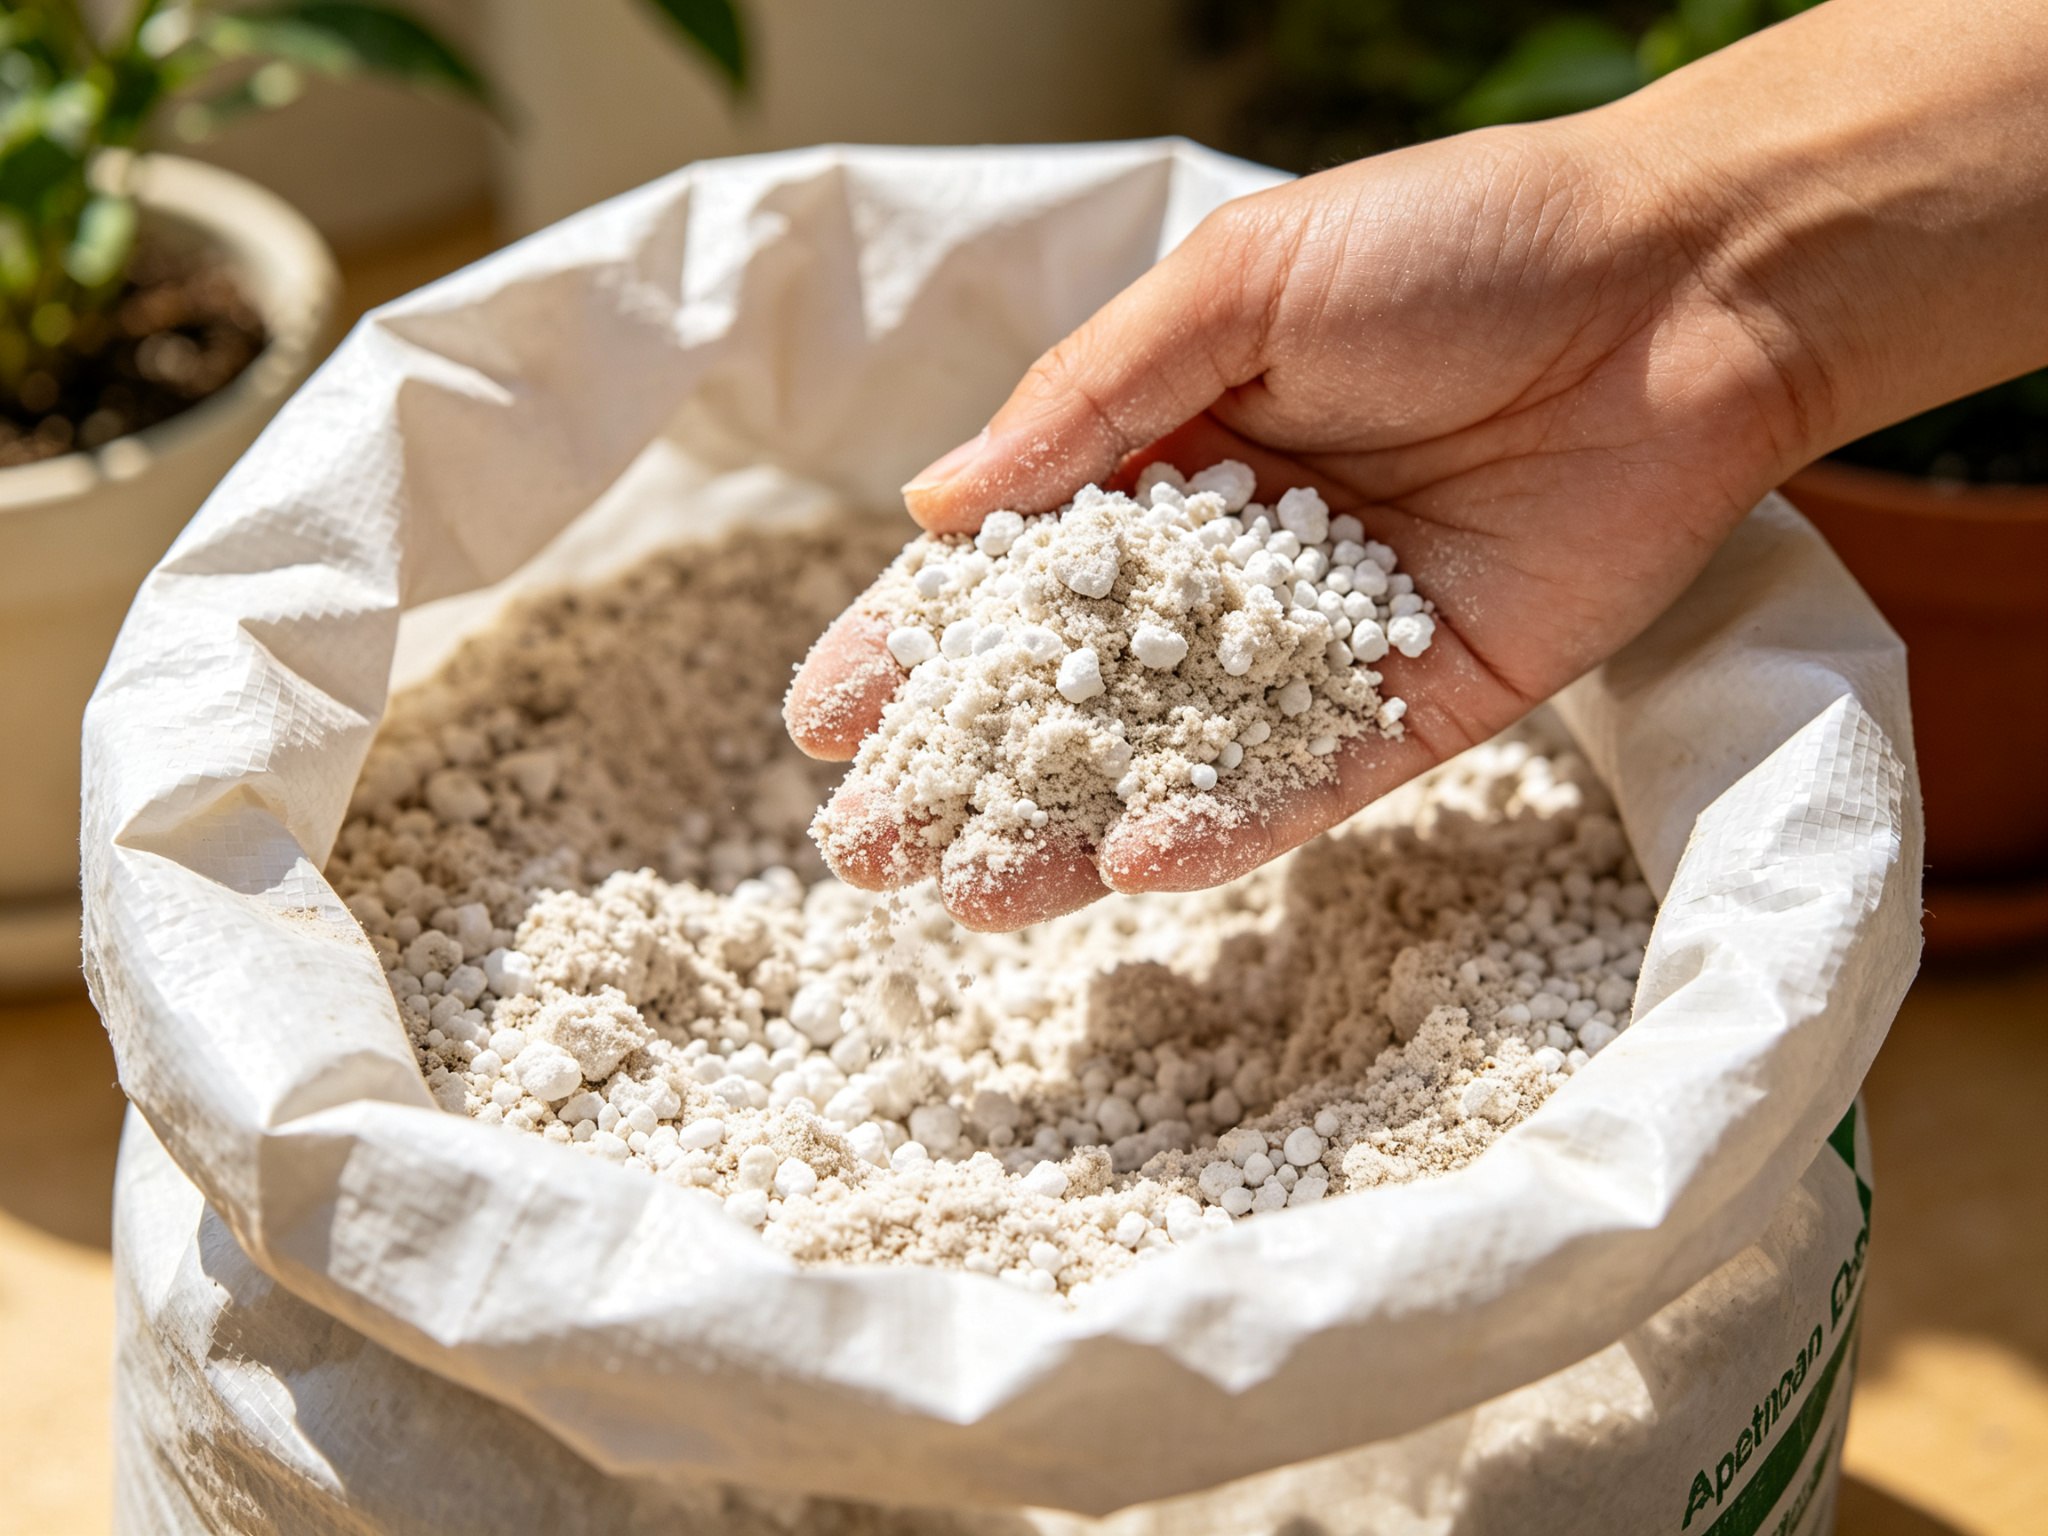
This one trips up almost everyone who starts in containers after growing in the ground. Bagged “garden soil” is dense, heavy, and compacts like concrete in a pot. It holds too much water, suffocates roots, and turns into a brick within a season. Potting mix — which is actually usually soil-less — is light, fluffy, and full of air pockets that roots need to breathe.
The fix: Always use a quality potting mix for containers, not garden soil. Look for one labeled for containers or raised beds, ideally with perlite or vermiculite for drainage. If you’re growing tomatoes, peppers, or anything hungry, mix in a slow-release fertilizer or add a little compost. Cheap potting mix is a false economy — you’ll just buy it twice.
Mistake #4: Choosing Pots That Are Too Small
Nothing stresses a plant out like cramped roots, and stressed plants get sick. I once put a zucchini in a 10-inch pot and watched it sulk all summer. Root vegetables need depth, tomatoes need room to anchor, and even shallow-rooted greens need more space than a teacup.
Here’s a rough guide that covers most crops:
| Crop | Minimum Container Depth |
|---|---|
| Lettuce, spinach, herbs | 6–8 inches |
| Bush beans, radishes | 8–12 inches |
| Peppers, eggplants | 12–14 inches |
| Tomatoes (determinate), cucumbers | 14–18 inches |
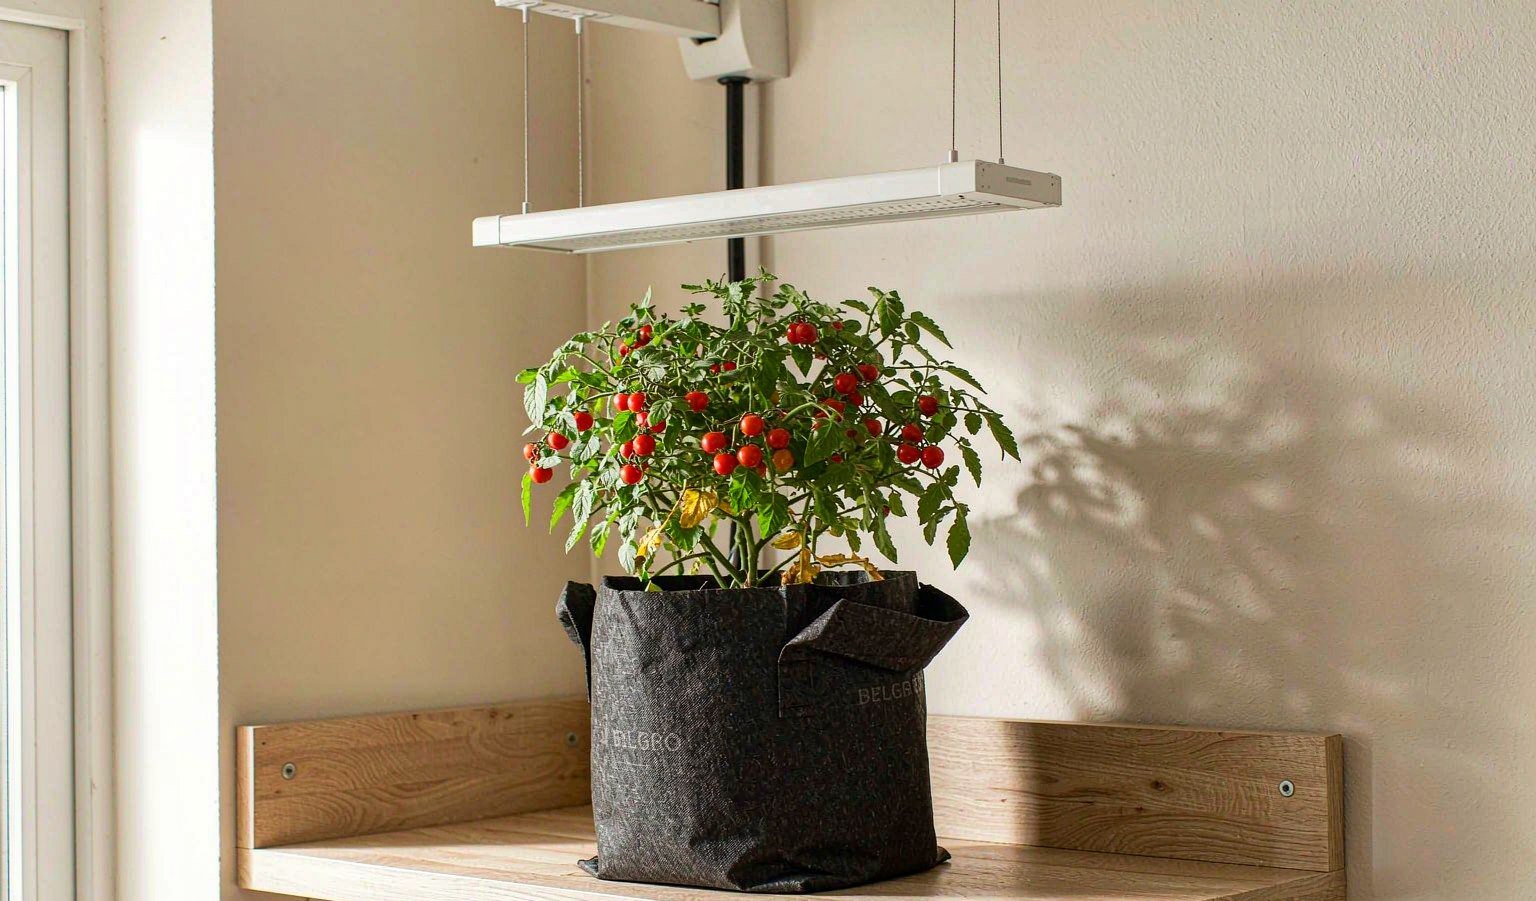
The fix: When in doubt, go one size up. A bigger pot means more soil, which means more water retention, which means you can miss a watering day without a plant tantrum. For tomatoes, skip the tiny pots entirely — a 5-gallon grow bag is the realistic minimum.
Mistake #5: Guessing Light Instead of Measuring It
Container plants live where you put them, and a lot of beginners put them in the wrong place and then wonder why nothing grows. Tomatoes and peppers want 6–8 hours of direct sun. Leafy greens can get by on 4. Herbs sit somewhere in the middle. If you’re guessing, you’re gambling.
The fix: Spend one day actually watching your patio or balcony. Check at 9 a.m., noon, and 4 p.m., and count how many hours of direct sun each spot actually gets. Most balconies have a sunny pocket and a shade pocket — put sun-lovers in one and greens in the other. If you genuinely don’t have the light, grow what matches your space: lettuce and herbs over tomatoes, every time.
Mistake #6: Fertilizing Like It’s a Buffet
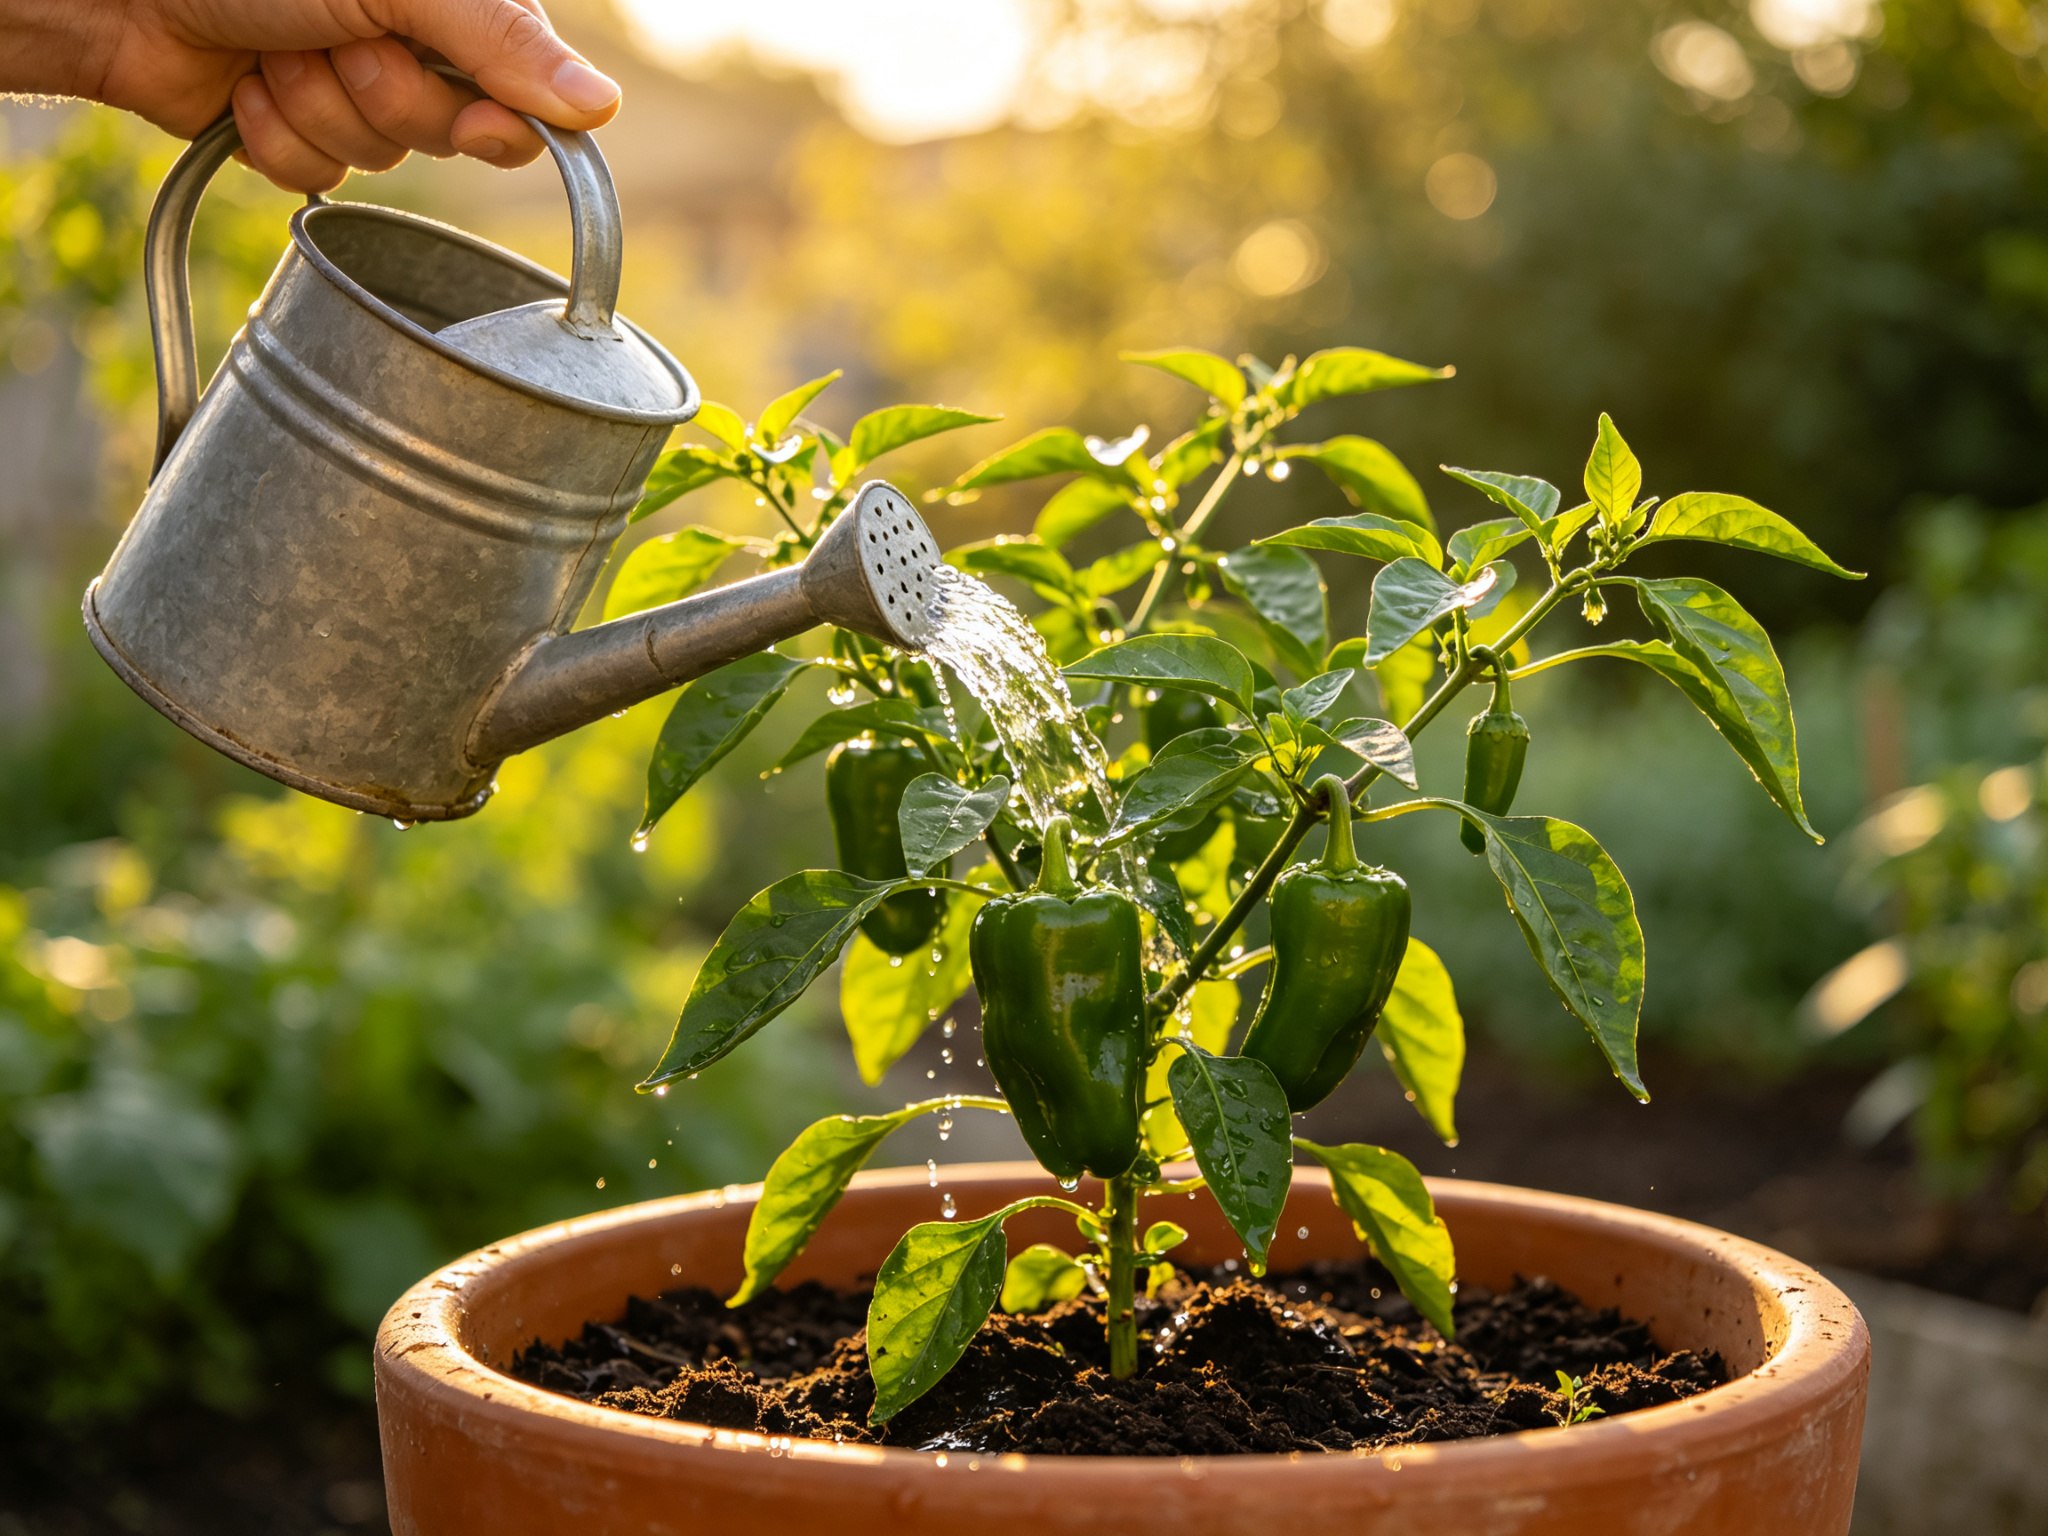
More fertilizer does not mean more growth. It means burned roots, salt buildup in the soil, and plants with lots of leaves and no fruit. Containers are especially vulnerable because there’s no ground to flush the excess into.
The fix: Follow the package directions — halve them if you’re nervous — and don’t fertilize until the plant has real roots established, usually two to three weeks after planting. Once a month with a balanced liquid fertilizer (like a 10-10-10 diluted to half strength) is plenty for most container veggies. Compost top-dressing is even more forgiving and hard to mess up.
Mistake #7: Cramming Too Many Plants Into One Pot
That seed packet says “thin to 4 inches apart,” and you plant all twelve seeds anyway because you want a full pot. I get it — but plants compete for water, nutrients, and light, and crowded containers mean nobody wins. You end up with twelve spindly plants instead of four strong ones.
The fix: Trust the spacing on the seed packet or plant tag. If it feels empty for the first couple of weeks, that’s normal — the plants will fill in fast. When in doubt, plant fewer and healthier. One thriving cherry tomato beats five struggling ones every time.
Mistake #8: Forgetting That Pots Are Weather-Dependent
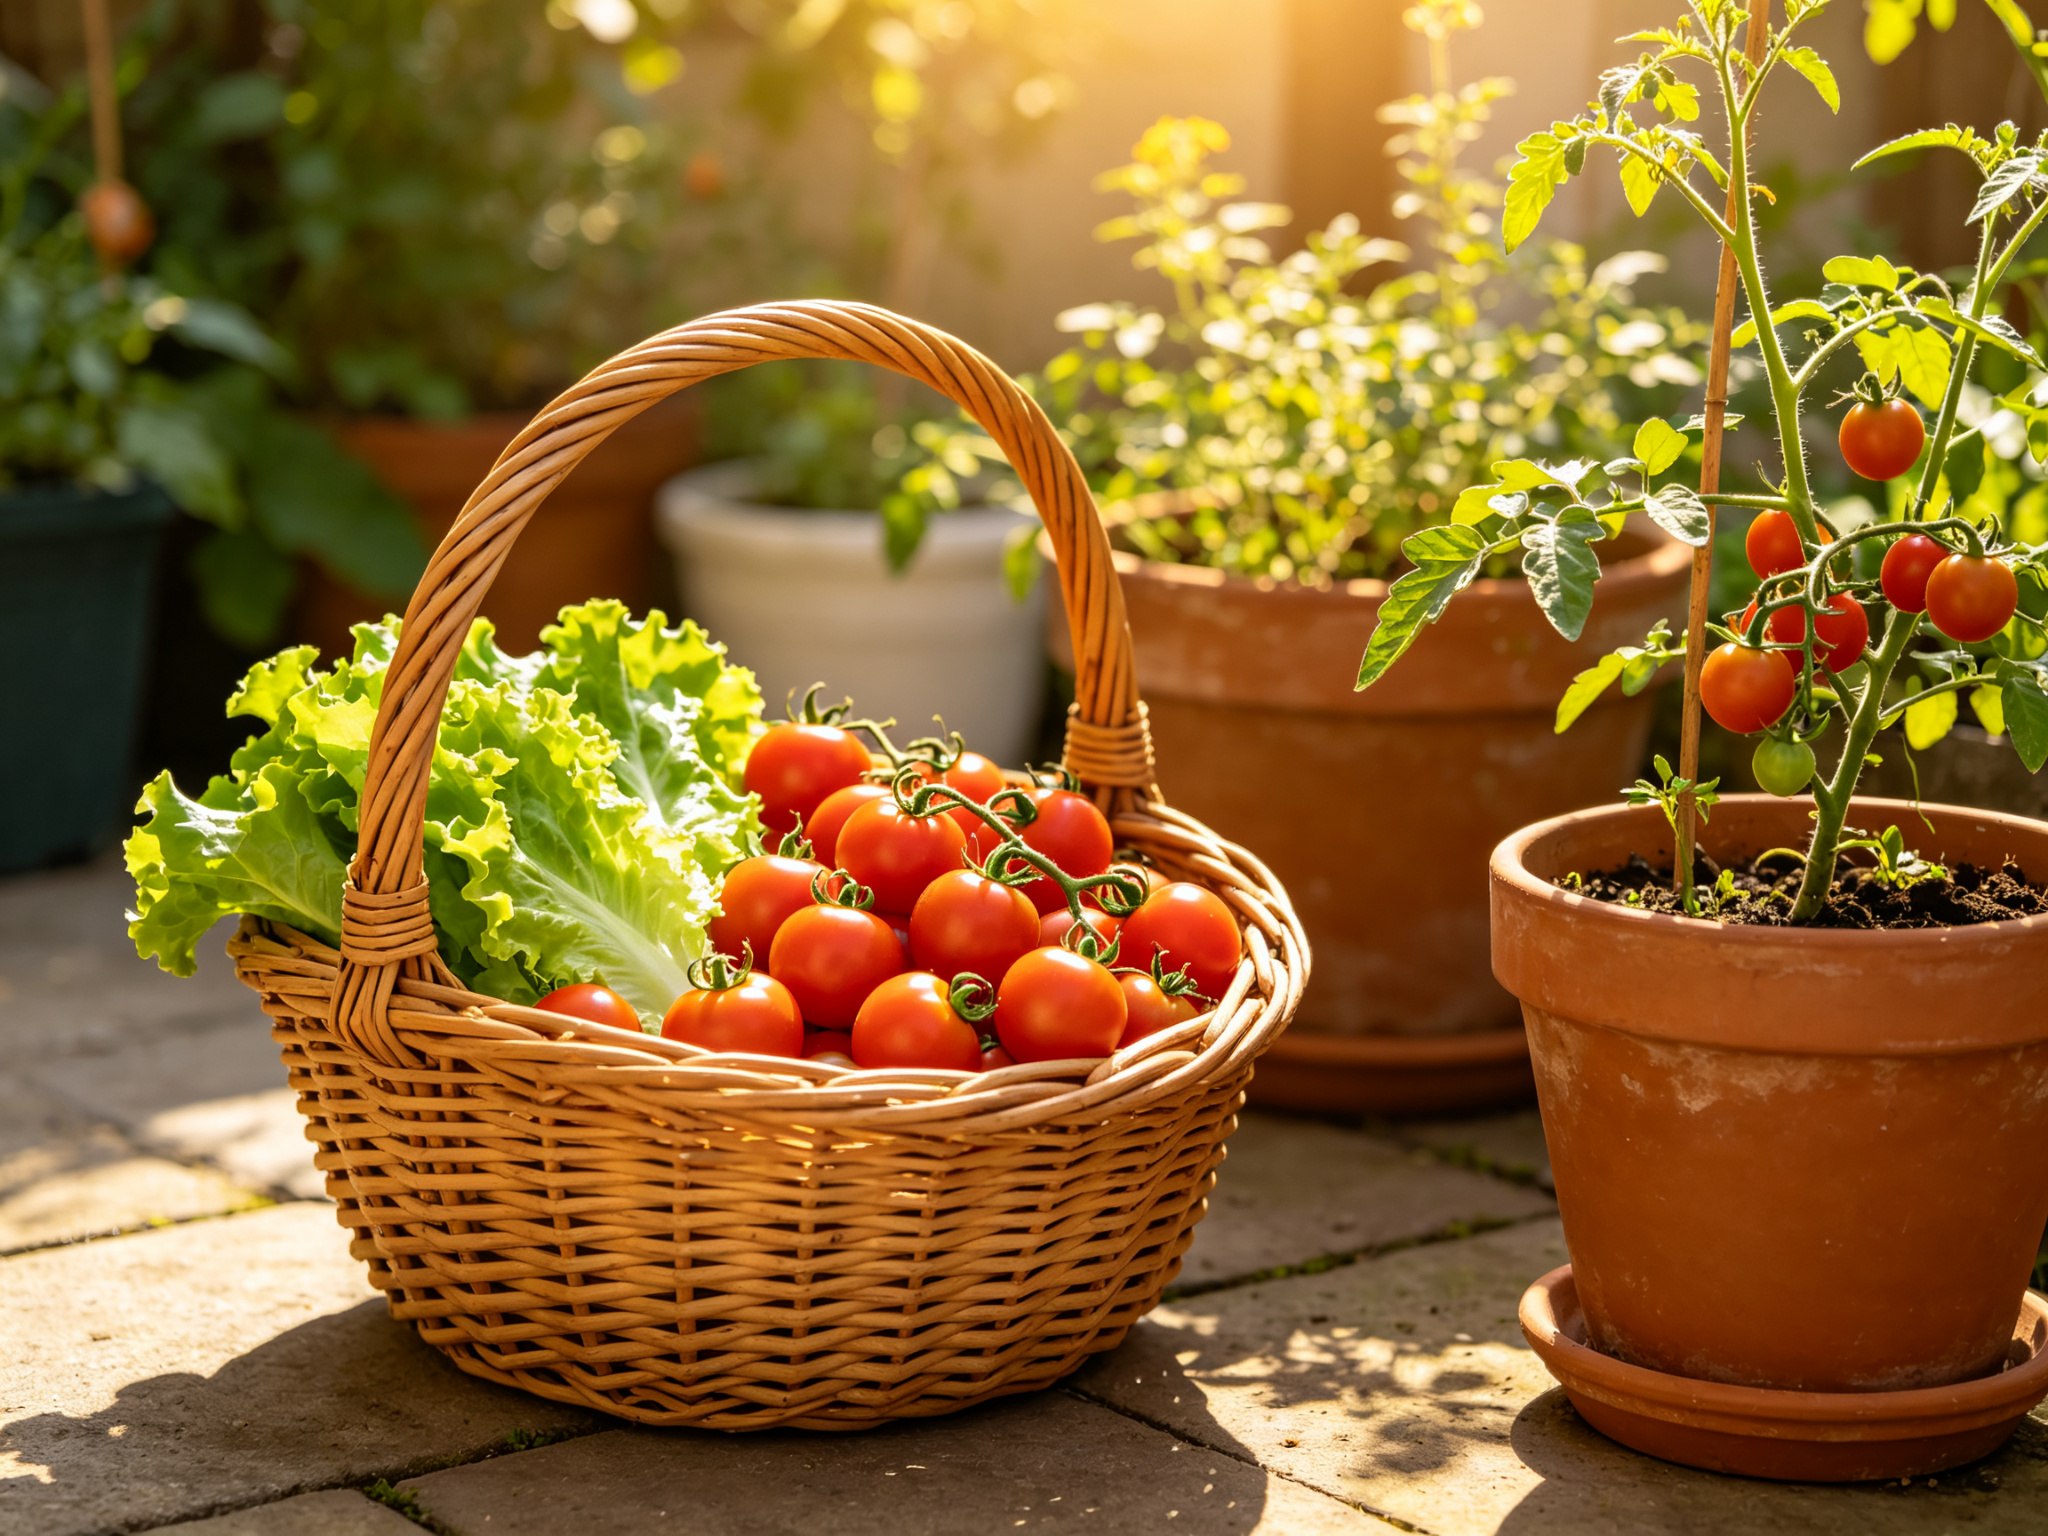
Containers have no ground to insulate them. They heat up faster in the sun and freeze faster in cold snaps, and they dry out shockingly fast in summer wind. A heat wave that a garden bed shrugs off can cook a pot’s roots in an afternoon.
The fix: Group pots together so they shade each other and slow moisture loss. Mulch the top of the soil with straw or shredded bark. During heat waves, move smaller pots into afternoon shade if you can. And for cold snaps, either bring pots in or wrap them — even a sheet thrown over them overnight can make the difference between a plant that survives and one that turns to mush.
The 60-Second Container Garden Check
Before you buy another plant, run this list:
- Pot has drainage holes (and they’re not blocked)
- You’re using potting mix, not garden soil
- Pot is big enough for the mature plant
- The spot gets enough real sunlight
- You know how to do the finger test
- You’re not fertilizing more than once a month
Start Small, Grow Smart
Here’s the honest version: you don’t need a perfect setup to grow food in containers. You need decent drainage, reasonable soil, enough light, and the self-control to stop watering on a schedule. Start with three plants — a cherry tomato, some lettuce, and a herb you actually cook with. Learn how they behave. Add more pots when you’ve got the rhythm. (No yard? The indoor cherry tomato plan walks through the whole 60-day version.)
My patio tomatoes finally thrived in year two, once I stopped drowning them and gave them a pot with actual holes. They tasted like summer, and honestly, they tasted like proof that I’d figured it out.
If you’re just getting started, grab a bag of quality potting mix and a couple of pots with drainage holes before you buy anything else. Get the basics right, and the rest is just patience.
Happy growing — and keep your finger out of the water.
Disclosure: Some links in this post are affiliate links. If you buy through them, I may earn a small commission at no extra cost to you. See the full affiliate disclosure.