Growing Microgreens at Home: $37 to $1.60 per Tray
Growing Microgreens at Home: $37 to $1.60 per Tray
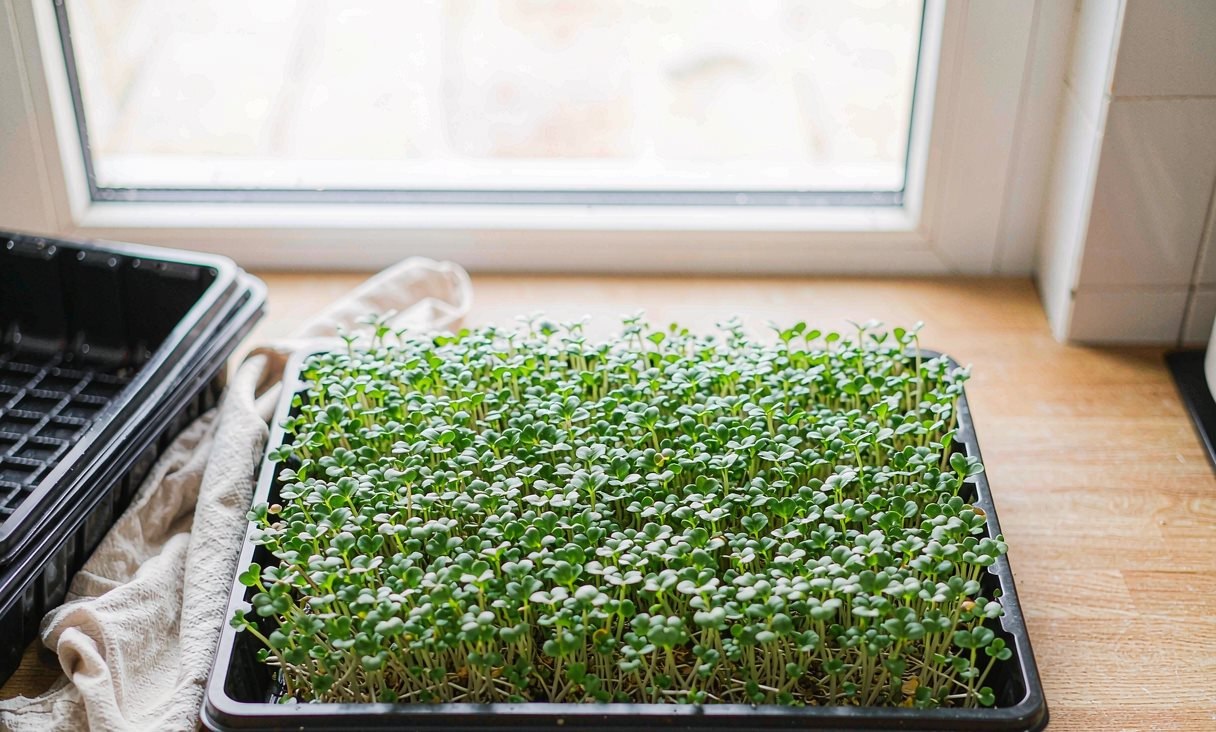
I bought the same two-ounce clamshell of broccoli microgreens from my grocery store for eleven straight weeks. It cost $5.49. That’s $2.75 an ounce for a garnish.
So I put $37 into a shelf setup and started counting. Twelve days later I cut 11.5 ounces off one tray for $1.60 in seed and medium. I also threw a whole tray in the trash, which is the part most guides skip.
This is for anyone growing microgreens at home on a counter or shelf, with no yard and a budget under $50. The numbers come from published seed pricing, a greenhouse yield trial, and my three trays.
Who this is for (and who should skip it)
If you rent, if your only window faces north, or if you want food instead of a plant you show guests, this fits. A 10x20 tray needs eighteen inches of shelf.
Skip it if you want a Sunday-only chore. These trays need a daily look for eight to twelve days, mostly to check moisture and airflow. Skip it too if you’re hoping to halve your grocery bill. One tray yields about 11.5 ounces, a large salad or a week of garnishes.
Why I started counting: 11.5 ounces for $1.60
Grocery microgreens sell for $4 to $6 per 1.5-to-2-ounce container, so you’re paying $2 to $3 an ounce. The price is high because the stuff keeps for days.
The growing side looks nothing like it. Broccoli microgreens take 13 grams of seed to fill a 10x20 tray, and those 13 grams produce 11.5 ounces at first true leaf, about twelve and a half days after sowing. Seed lists between $12 and $28 a pound, which puts seed cost at $0.35 to $0.85 per tray, with medium running $0.50 to $1.60.
Stack it up: about $1.60 to grow, $23 to $34 to buy. That gap is why I kept going, and it’s bounded, because the savings only exist if you cut the tray.
The $37 setup: what actually went in the cart
I bought three things and deliberately skipped a fourth.
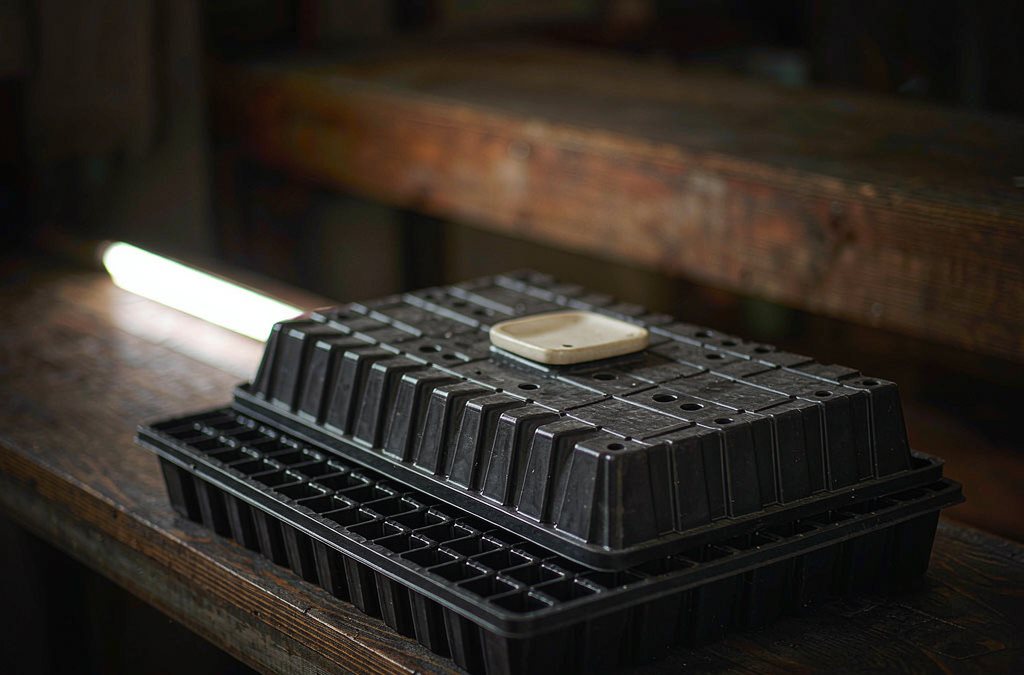
A five-pack of 10x20 trays with domes came to $17. A coco coir brick was $12, enough medium for roughly eight trays. A bag of broccoli microgreen seed was $8. Trays and domes: a five-pack of 10x20 trays with humidity domes runs about $17.
Microgreens kits are the fourth thing, and skipping them saved the most. They run $25 to $45 and bundle a shallow tray with a few grams of seed at several times the per-gram price. Buy the parts separately instead.
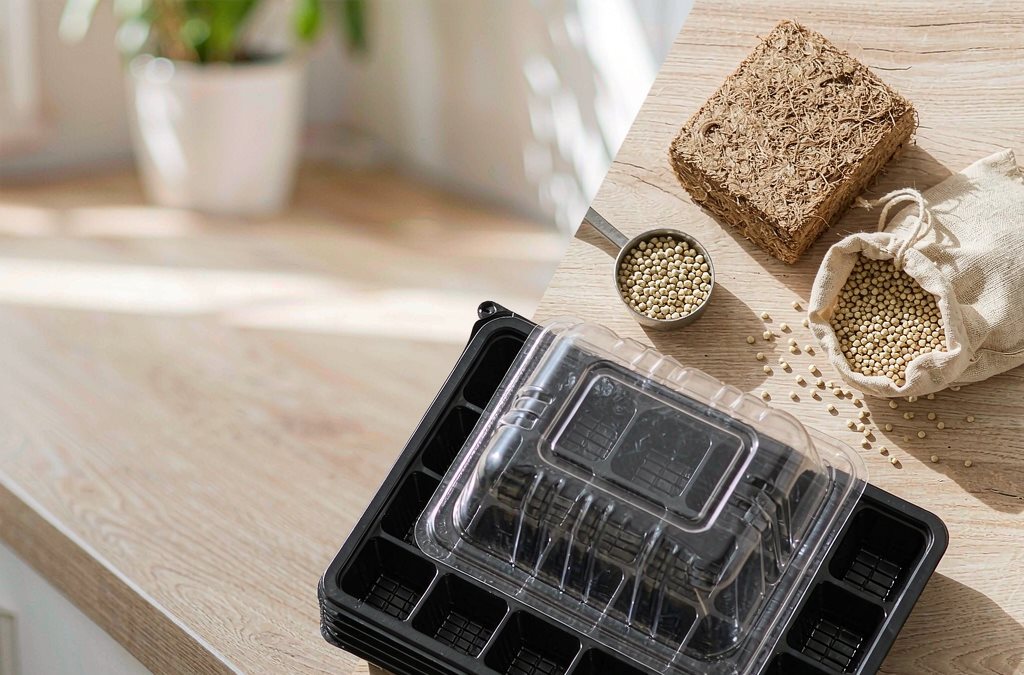
Day 1: 13 grams of seed that looks like not nearly enough
This is where most first trays go wrong, including mine. Weigh out 13 grams of broccoli seed and look at it in the bowl. It looks absurd against a 10x20 tray, and the instinct is to double it.
Don’t. Sow densely but evenly, close enough that you can barely see the medium, and not so thick that seeds pile up. Piling blocks airflow, and blocked airflow sets up every mold problem that follows.
Fill the tray with an inch of medium, level it, press it down, then scatter the seed evenly and press it into contact. Mist it and cover it. That’s the whole procedure for learning how to grow microgreens from seed: even spacing, firm contact, moisture without puddles. Seed: a bag of broccoli microgreen seed runs about $8 and sows a dozen trays.
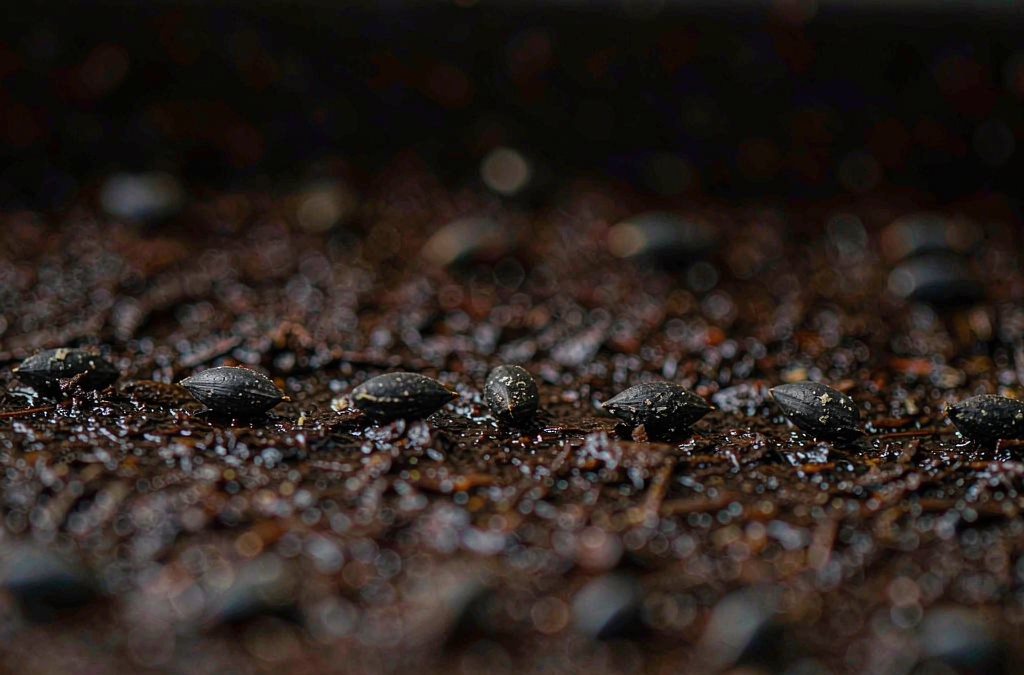
Days 1 to 4: the blackout period I almost skipped
Cover the tray with a second tray or a dome, add a little weight, and leave it in the dark for two to four days. This is the blackout period, and it mimics being buried. Seeds germinate evenly and the seedlings stretch toward light, which builds longer stems.
I skipped it on my first tray because I wanted to see green, and got a patchy stand with thin stems and maybe 60 percent of the yield. Two to four days, then pull the cover the moment most of the tray has shoots.
Temperature matters more than people expect. Most varieties want 65 to 75°F, and below 65°F the cycle roughly doubles, which eats the advantage of a fast crop.
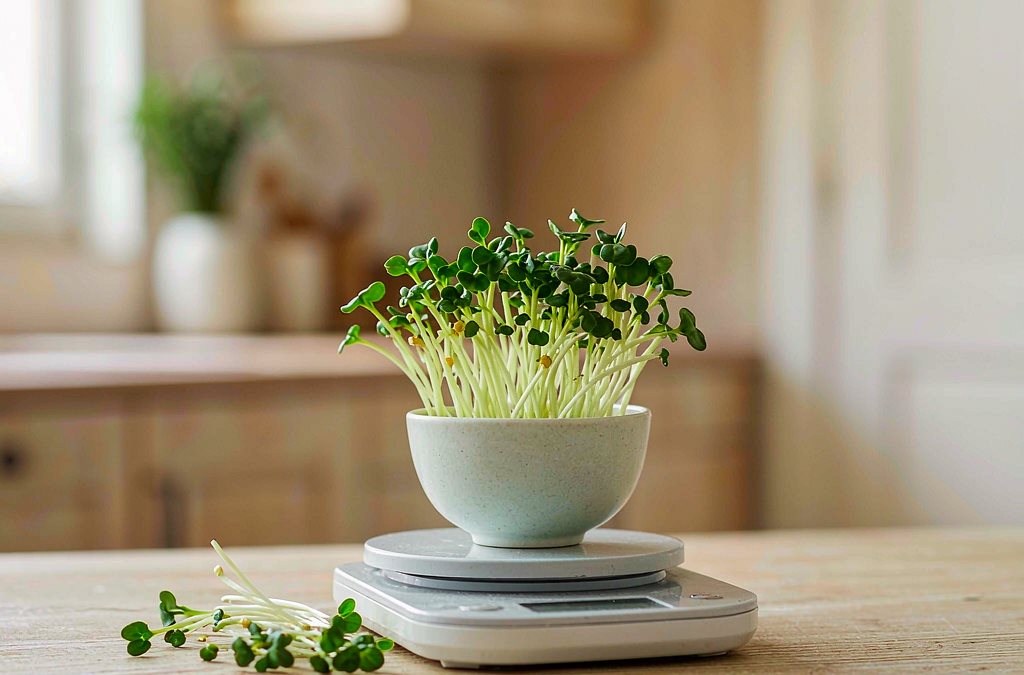
Two tools are worth owning here. A cheap kitchen scale keeps you from eyeballing seed weight, and a fine mist sprayer keeps the surface damp without soaking it. That pair: a digital kitchen scale and a fine mist sprayer, together under $20.
Days 5 to 12: light, airflow, and cutting at the first true leaf
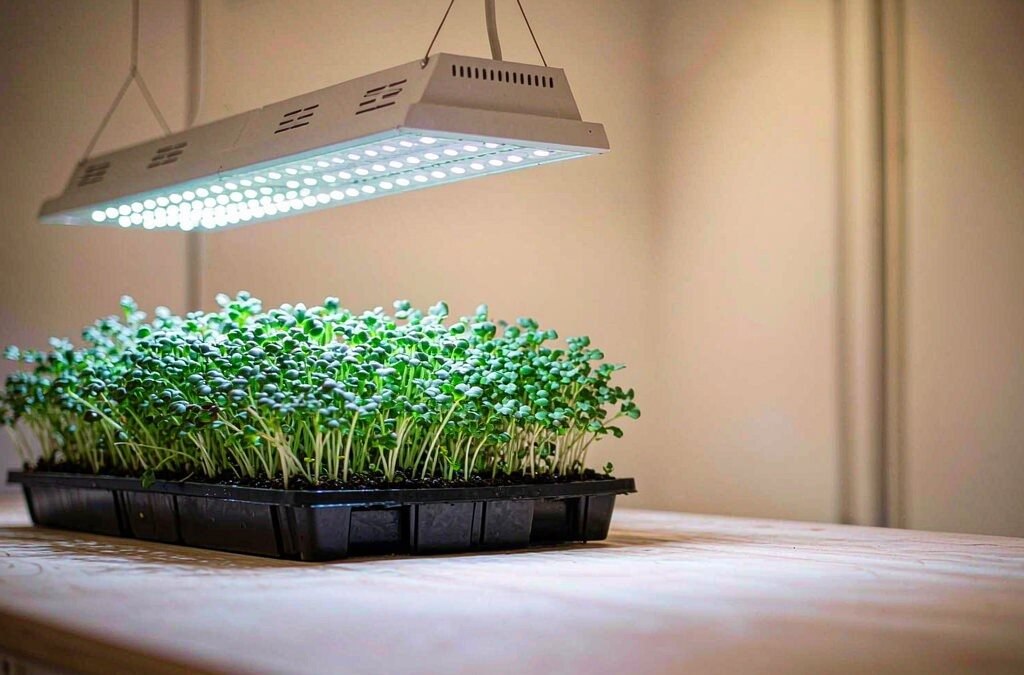
Once the cover comes off, the tray wants 12 to 16 hours of light a day. On a bright south-facing sill you can skip equipment entirely, though you’ll rotate the tray daily or it will lean. In a dark apartment, a small full-spectrum LED held 6 to 12 inches above the canopy is the difference between a dense green carpet and pale, stretched stems (the grow lights guide explains the distance and hours math).
Airflow matters as much as light. A small fan on its lowest setting, blowing across the trays rather than into them, keeps the canopy dry and strengthens stems.
Cut when the first true leaves appear, above the medium line, with clean scissors. Radish is ready in 6 to 8 days, sunflower and mustard in 8 to 10, broccoli around 12. Cilantro and basil take 18 to 21 days and are a bad first tray. Cut a day early rather than a day late, since brassicas turn bitter once they mature.
The light: a small full-spectrum LED with a timer, $25 to $40, is enough for one shelf. One warning: a bright panel in a small apartment at night is genuinely unpleasant, and a model without a timer means you’ll forget to shut it off.
Three trays I threw out, and what each mistake cost me
Mistake one was top watering. I poured from a measuring cup, which displaced seed, carved channels into the medium, and left a patchy stand. Cost: one tray, about $1.60 in seed and medium, plus twelve days.
Mistake two was overseeding. I roughly doubled the rate on tray two because the surface looked empty. By day six the canopy held enough humidity at the base for mold. Cost: another tray, and three weeks of not growing anything because I assumed my apartment was the problem.
Mistake three was harvesting late on the first successful tray. I waited for it to look fuller, and the broccoli went bitter and tough. Cost: half a tray I didn’t want to eat.
The four rules I follow now
Bottom water, always. Set the drainage tray in an inch of water and let the medium wick it up. The surface stays dry, which keeps mold off, and roots grow down toward the moisture.
Weigh the seed. 13 grams for broccoli in a 10x20. A scale settles it in five seconds.
Airflow before moisture. If a tray looks off, add air before you adjust water.
One species per tray. Different species finish at different times, so a mixed tray means cutting half of it early or letting the other half go bitter. Mix in the bowl after harvest.
Medium is the rule nobody mentions. Garden soil compacts and stays wet, so start from a coir brick that rehydrates airy. A 650-gram coir brick runs about $12 and makes enough medium for roughly eight trays.
Here’s what each variety costs, at the seed densities that fill a 10x20 tray:
| Variety | Seed per tray | Cost per tray | Days to cut | Yield |
|---|---|---|---|---|
| Radish | 1 oz | about $1.35 | 6 to 8 | 8 to 12 oz |
| Sunflower (black oil) | 2.5 oz | about $1.50 | 8 to 10 | 12 to 18 oz |
| Pea shoots | 3 oz | about $2.00 | 10 to 13 | 10 to 14 oz |
| Broccoli | 13 g | about $1.60 | 11 to 13 | 11.5 oz |
| Cilantro | 1.5 oz | about $1.70 | 18 to 21 | 8 to 12 oz |
Two safety notes that aren’t optional. Never grow microgreens from nightshades, since tomato, pepper, and eggplant seedlings contain glycoalkaloids in their cotyledons. Sunflower seed has to be the black oil type, not striped confectionery seed, which germinates poorly.
FAQ
Are microgreens the same as sprouts?
No. Sprouts germinate in water in a jar, and you eat the seed and root along with the shoot. Microgreens grow in a medium under light and you cut above the soil line, leaving the seed behind. That’s why cut microgreens carry a lower food-safety risk.
Do microgreens regrow after cutting?
Mostly no. Broccoli and sunflower are cut once and done, because the growing point leaves with the harvest. Pea shoots and wheatgrass sometimes give a weak second cut.
Do I need a grow light for microgreens?
Not always. A bright south-facing window grows most varieties if you rotate the tray daily. If your best window gets weak light, or if it’s January, a small LED running 12 to 16 hours a day will outgrow the sill every time.
Why is my microgreen tray fuzzy and white underneath?
Check whether it’s mold or root hairs first. Root hairs are an even white fuzz hugging the roots just after the blackout, and they vanish when you mist the tray. Real mold is gray or colored, spreads across the medium instead of the roots, and smells musty. If it’s mold, toss the tray.
If you only do one thing
Buy broccoli microgreen seed, a five-pack of 10x20 trays, and a coco coir brick, then sow one tray and nothing else. That’s about $37, and it tells you inside two weeks whether you’ll stick with this.
The exception: if your only free spot is a dark corner with no window, add a small LED with a timer on day one. Without it you’ll get pale, leggy stems and conclude that microgreens don’t work indoors, when the real problem was light. Start with a bag of broccoli microgreen seed. Once the trays are running, the same light setup doubles for cherry tomatoes indoors.
Disclosure: Some links in this post are affiliate links. If you buy through them, I may earn a small commission at no extra cost to you. See the full affiliate disclosure.